仅用缓存功能,不与JPA结合。Redis及Docker的基础用法自行查询。
环境准备,安装配置
Win7
1.官网下载redis, 在解压后的目录打开cmd(按住shift, 鼠标右键),输入
|
|
出现如下界面为启动成功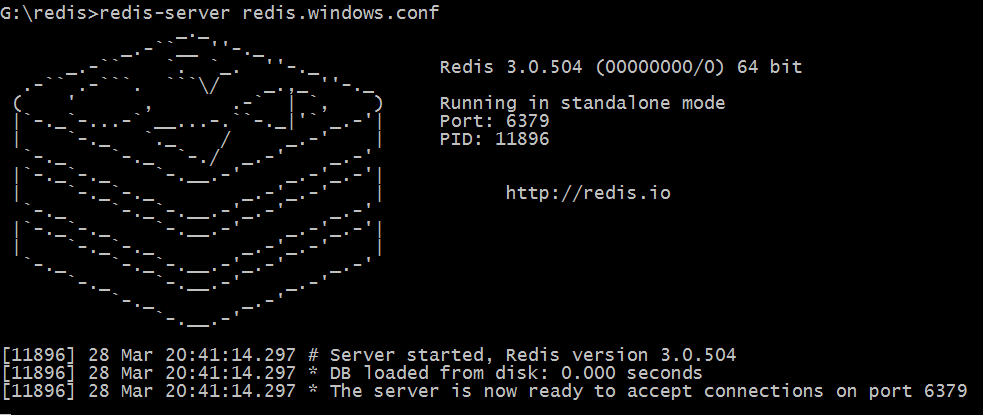
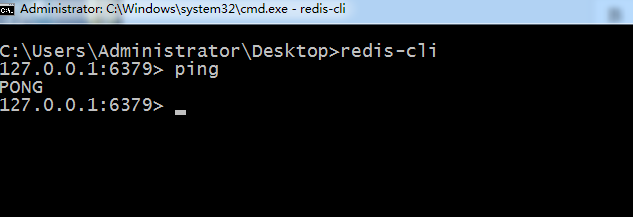
2.再打开一个cmd,执行 redis-cli 如下
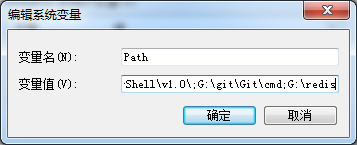
3.在系统变量Path中添加redis目录,下次执行redis-server和redis-cli不必在redis安装目录下
Centos7
1.安装redis
|
|
2.配置
|
|
3.连接
|
|
Centos7 Docker
1.官网docker.io经常不可访问,加入镜像
|
|
2.查看下载redis镜像
|
|
3.起redis服务
|
|
参数解读:
-d : 后台运行
–name : 命名容器名
-p 6379:6379 : 指定端口映射,前一个6379为宿主机端口号,后一个6379为容器端口号
-v $PWD/data:/data : 将主机中当前目录下的data挂载到容器的/data
–requirepass root : 设置密码为root,保护 Redis 服务器
–redis-server –appendonly yes :在容器执行redis-server启动命令,并打开redis持久化配置
4.连接redis-server
|
|
或者如下图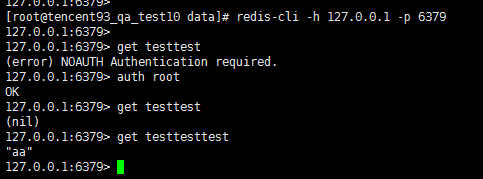
注:auth password 和配置文件中的密码相符,服务器会返回 OK 并开始接受命令输入; 密码错误或不输入密码,虽然可以连接上redis,但不可使用其他redis命令。redis容易遭受密码猜测攻击,所以要确保密码足够复杂和足够长。
SpringBoot 引入 Redis
1.引入依赖, 版本与spring-boot-starter-parent一致
|
|
2.从配置中获取redis连接信息,若从application.properties中获取,则设置如下
|
|
配置类
3.配置连接池
|
|
4.方法封装,以HashMap为例
|
|
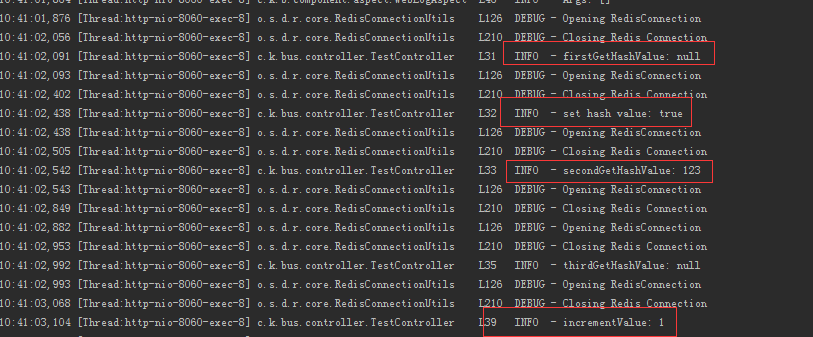
5.测试
|
|
测试结果如下: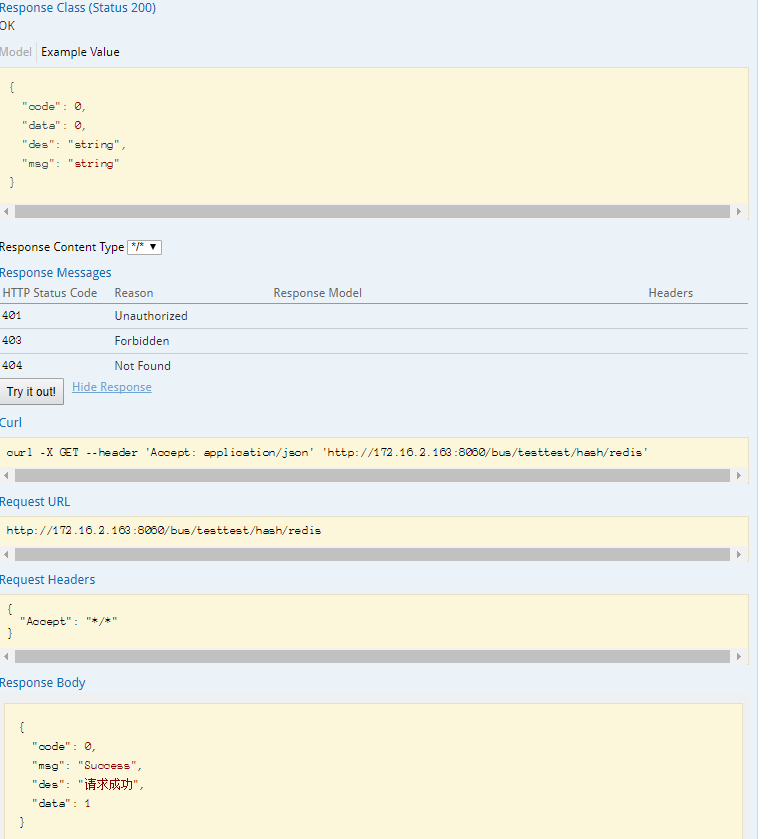
共享sessoin
为多点部署,借助redis实现共享session
1.引入依赖
|
|
2. 注解
只需在上述的RedisConfig加一行注解即可
3.测试接口
|
|
请求结果如下:
连上redis,查看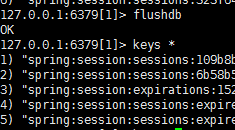
4.身份验证
未使用redis session前,重启服务后,session失效,需重新验证。
接入redis session后,重启服务,访问,无需身份验证,session已存储在redis中。